 Eesti
Eesti Русский
 Suomi
Suomi Latviešu
 Svenska


Article from Jooksja.ee magazine
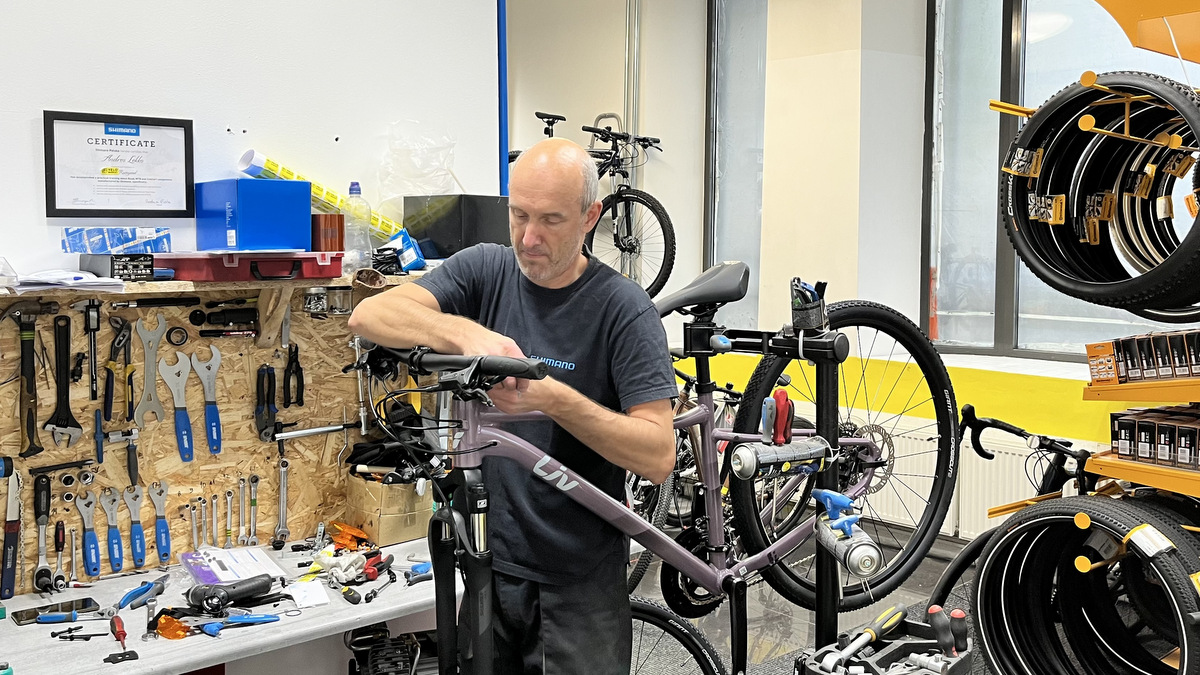
Andres Lekko, the hard-working and hard-working chief mechanic at Velomarket, who looks after our bike maintenance in Tööstuse and Tähesaju, gives some good advice on how to maintain your bike before putting it in the winter garage. Autumn is the time to take extra care of your two-wheeled friend. A message for Andres:
Obviously, you don’t need to be a hiromancer or overly observant to notice that the weather is becoming increasingly inhospitable to extrovert activity. For many cyclists, this usually means that summer’s faithful companion wants to go off and enjoy the winter wonderland. You, as a good friend, will naturally want to give him the opportunity. In this article, I’ll try to share some suggestions on how to make your friend’s winter sleep as good as possible and your spring reunion as joyful as possible.
Broadly speaking, you could divide the winter “preservation” of a bicycle (I’ll use the word without quotation marks later in the text) into 3 parts: washing/cleaning, full maintenance and packing/storage.
Part 1 – PESU
It is a good idea to give your bike a good wash from time to time to keep it looking good.
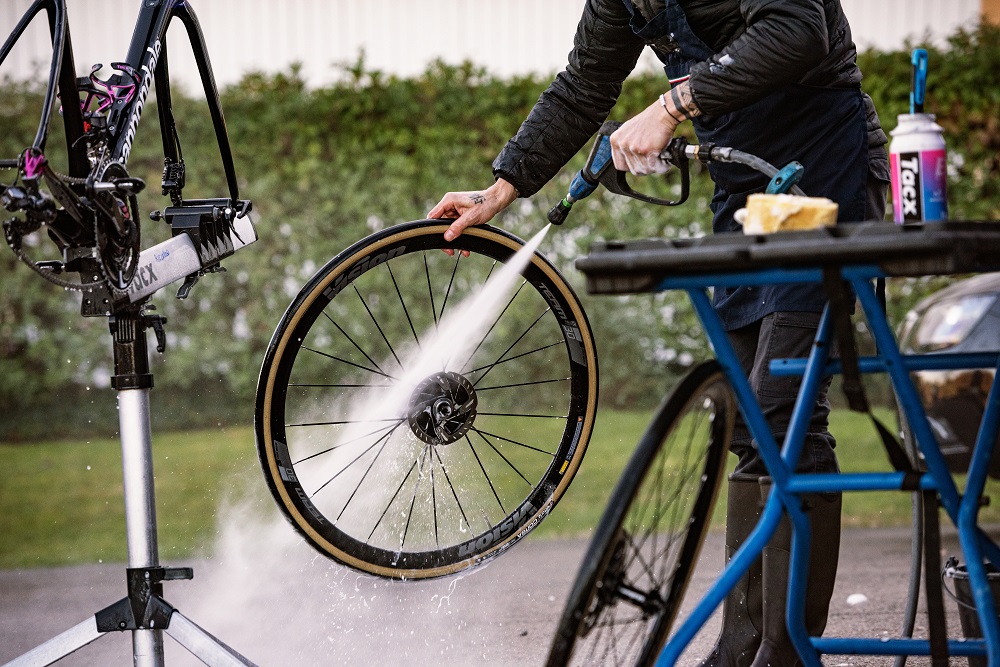
You can wash your bike in absolutely any way. No washing will damage the wheel. Here I describe in more detail what a professional does.
To wash a wheel, you need a larger piece of sponge from the palm of your hand, some kind of brush (an old toothbrush will do, a smaller brush, some kind of water dish, a chemical that dissolves oils (power detergent), dishwashing liquid and some water.
I start by brushing the oiliest things in the wash. A brush or toothbrush, together with an engine cleaner, will help to scrape off most oil and dirt from the chain, thumb brake pads and all gears. This part can be left undone when it’s time to change the chain. NB! In the case of chain brakes, it is wise to remove the brake pads during this operation to prevent oil getting in/on them.
I then apply a reasonable amount of pressure to the hose to allow the oily material to wash off. If the wash is followed by a full service, an otherwise inadvisable pressure washer can be used, as all the knots will need to be lubricated afterwards anyway.
When most of the oil has left, I stir the foaming liquid into the bucket. Of the many tried-and-tested foamers, “Fairy” has proved to be the most pleasant collaborator.
Then I’ll give it a swat with the sweat-ball on the front. I clean the whole wheel and finally the previously oily surfaces. And, of course, I rinse. Like showering yourself, right.
To wash the brake discs, I have used a brush to scrub the thumb brake pads, the sides of the rubber, the hubs and finally the rear sprockets.
In general, I have noticed that no matter how well you wash, you still need to wipe the wheel with a cloth after washing and drying.
In itself, the whole procedure described above is also valid for washing bikes in summer. The only thing to observe is that water flying out of the hose should not do so under pressure. Pressurised water can seep into the bearings and start to rust.
Part 2 – FULL CARE
In the case of preservation, I dismantle the front and rear wheel hubs, the centre pinion and the crankshaft bearings in the same way as usual, but I remove the last 2 at the same time. The reason is simple – you can then use compressed air to dry the inside of the frame, where you don’t usually climb in during normal washing and maintenance. It’s also a good idea to take the saddle off so you can blow through the entire frame contour.
Bearing cleaning and greasing is a specific activity where old grease is removed from the bearings, the surfaces are cleaned to a shine, the quality of the bearing parts is inspected and, if sufficient, the entire previous situation is replenished with fresh, clean grease. If some parts are damaged/worn out, there is no mercy – they go for reprocessing and new stuff replaces them.
Next, I will inspect the quality of the ropes and rings. Most of the time, they also see a cutting stick during the conservation process.
Brake pads as well.
Any part that is temporarily removed from the wheel must be lubricated in the threads on the wheel when it is returned so that it can be moved in the future.
Of course, I check the condition of the spokes and rub the runs.
Finally, I run a cloth over the entire assembled and adjusted bike to remove fingerprints from the crime scene.
Once the wheel is clean I recommend using a polish (Bike shine) and spraying over the entire wheel and polishing.
You could inflate the tyres to the maximum allowed pressure (usually stated on the side of the tyre) to last until spring.The tyre is ready for packing/storage.
The question is, is it worth doing at home? The answer is no. Mechanics are understaffed in autumn and winter. Shopkeepers have been chewing their fingernails off looking at the current month’s Excel spreadsheet and have lowered the prices of their maintenance service – trust the professionals! A full care profile takes 2-4 hours. The non-professional multiplies this number by his or her non-expertise coefficient and calculates whether it is worth it to remove oneself from civilisation for a whole day to save 80-100 euros? Or maybe a graphic designer, a teacher or a bus driver would rather stick to their guns?
However, if you are interested, of course you can do it yourself. All of us, as mechanics, once started out of curiosity.
Part 3 – PACKAGING/HOSTING
The best conditions for storing a bike are in an empty, dry, warm, dark, dust-free, etc. room. Obviously most of us don’t have one. But life does not stop there!
If you have to keep your bike on an open balcony, think about how to protect your friend from getting too wet. Personally, I would think of a plastic bag as big as possible to wrap the bike in and tape it up.
If you need to keep the bike in a stealthy but small basement box, I recommend turning the pedals off and the handlebars perpendicular, then trying to mount the bike as low to the ceiling as possible. Then family members can access winter potatoes, cucumber pickles and briquettes without having to lug a wheel. In such a situation, I would try to pack the bike in a stress or bubble bag myself. It will also help protect against a piece falling off the briquette and deciding to contact your good friend before it finally stops.
If you have to keep the bike in a room where there are rodents around (we had rats take the cabbage stick away and never bring it back, remember?), I would keep the bike as it is, without rattling it. Don’t worry – they may take the cabbage stick away, but they don’t really like the wheel and won’t try it very much. Saddles and other soft objects can fall victim, but there is no good cure. They do use the surface of the wheel as their own chemmerge when they run in circles, but that’s not a big problem next to global warming. Why do I recommend not to pack? Curiosity drives these characters to chew their way through the packaging, and eventually perhaps create their own real estate in the bag.
The only conditions that the bike doesn’t really like are the alternating hot and cold. So – the bellyhop driver should not carry the wheel on the bus while on the route to prevent condensation from forming inside the wheel.
Once you’ve done this, you can be more or less sure that the first cycling sensations of spring will only be needed to pump the tyres.
While you still can, collect kilometres. And if you can’t do that any more, read this text from the beginning!
Feel free to get in touch!

Andres Lekko,
Chief mechanic at Velomarket bike maintenance.