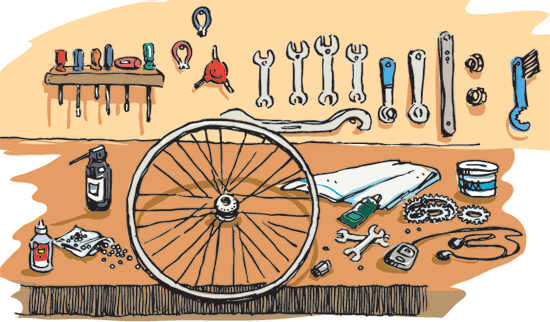
The following text provides tips for assembling a bicycle independently and maintaining it in the future.
Video guide for assembling a pre-assembled bicycle.
Video guide for complete assembly of the bicycle.
Where to start?
For bicycles purchased in a box, before use, correctly install the front wheel, handlebars, saddle, and pedals.
Attaching the front wheel
Position the front wheel into the fork so that it is as straight as possible relative to the fork. Observe the direction indicated by the arrow on the tire — the arrow should point in the direction of travel. Then securely tighten the axle nuts of the front wheel. The wheel must be centered in the fork.
Installing the pedals
Pedals are marked with letters L (left) and R (right) at the ends of the axles. Tighten the pedals securely. Pedal threads should be tightened sufficiently. After a few rides, check that the pedals are firmly attached.
Installing the saddle

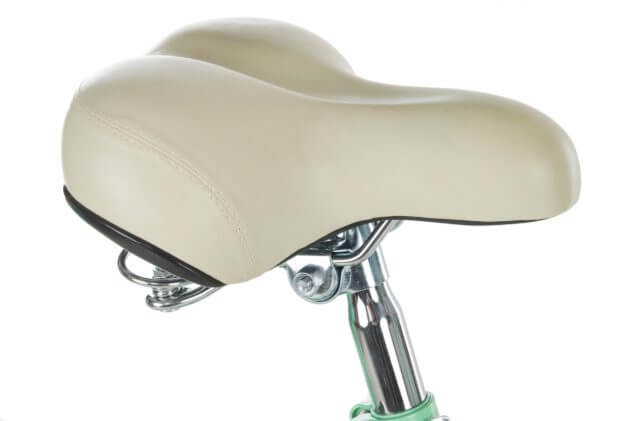
To achieve an effective and comfortable riding position, the saddle height must be adjusted correctly. If the saddle is installed too low, pedaling can feel difficult and strain the knees. The correct saddle height is when pedaling, your knees almost fully extend without locking. The seat post is attached to the frame with a quick-release lever or bolt. Ensure the seat post is inserted into the seat tube so that the maximum height mark on the tube remains inside the seat post. Make sure not to raise the seat post above the maximum height mark. The saddle should be horizontal with the ground.
Installing the handlebars
Proper handlebar installation height is crucial for achieving a comfortable riding position. The ideal handlebar height depends on the cyclist’s height and riding style. For a more upright riding position, install the handlebars in the highest position. For longer distances and a more comfortable lower riding position, install the handlebars lower. Insert the handlebar stem into the frame so that the maximum height indicator is not visible. Once the handlebars are at the desired height, secure them with the top bolt. Ensure the handlebars are not raised above the maximum height indicator. The maximum height indicator is represented by a horizontal line, short vertical lines around the tube, or labeled as MAX.
Installing the basket
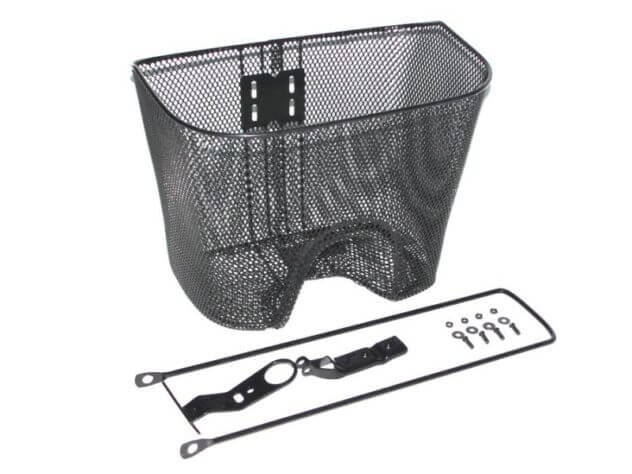
There are two types of front basket mounting solutions: clip-on (removable) and supported by the fork above the front wheel. For a clip-on basket, attach it easily around the handlebars with two screws. Ensure the attachment is secure; if necessary, use a rubber strip for stability. A clip-on basket can support a maximum weight of 5-7 kg.

The basket that attaches via the fork does not fit, and the fork must be secured under the front wheel nuts. The basket attaches on one side to the upper part of the fork using a bracket. On the other side, it attaches under the headset (the tube where the handlebar post goes) nuts.
Adjusting brakes and gears
Before starting to ride, ensure that the brakes are in working order. Brake pads or discs must be positioned correctly, meaning they should make contact with the rim or disc horizontally and evenly. Brake pads should be equally spaced from the rim/disc. The distance of V-brake pads can be adjusted by tightening or loosening screws located at the bottom of the brake.
Gear adjustment
To adjust the gears, follow these steps:
- Turn the front derailleur to the middle gear and ensure it is perfectly centered between the derailleur plates.
- Next, use the rear derailleur to shift through all the gears and ensure there is no “clicking” sound in any gear.
- If you hear clicking while pedaling, the initial position of the derailleur is incorrect, and you need to turn the plastic/metal screw on the rear derailleur cable until the clicking noise stops.
- If the chain does not stay on the top/bottom gear, makes noise, or shifts off, you need to adjust the two adjacent stop screws.
For adjusting a Shimano Nexus gear shifter, follow these steps:
- Shift the gear shifter to gear number 2 (middle gear).
- The gear shifter is located at the end of the rear wheel shaft, and the shifter cable runs from the frame to it. Use a 10 mm wrench to loosen the locknut on the cable end.
- Turn the cable adjusting screw (by hand) so that the indicator in the gear shifter window aligns precisely between two lines.
- Tighten the locknut again.
Watch an explanatory video on YouTube for more information.
Bicycle general maintenance
Maintaining your bicycle properly makes riding safer. If you’re unsure of your skills, be sure to consult experts.
The main parts that require maintenance are as follows:
- Chain: Clean the chain from dirt and grease, dry it, and lubricate it with specialized lubricant. Wipe off excess oil. Chains naturally stretch with use. Sufficient lubrication extends chain lifespan. Regularly check chain tension. If it sags, it’s too stretched and may slip off.
- Tires and rims: Ensure tires are inflated to the correct pressure as indicated on the tire sidewall. Riding is easier with adequate tire pressure. Replace worn-out tires. Check spoke tension at least once a year.
- Brakes: Ensure brakes function properly. Adjust them if necessary. Replace worn brake pads or discs.
If you’re short on time for maintenance, Velomarket bicycle shop workshop can help.
 Eesti
Eesti Русский
 Suomi
Suomi Latviešu


